From Nest to Kitchen: Caring for Your Fresh Eggs
Simple steps to keep your eggs fresh, flavorful, and safe to enjoy
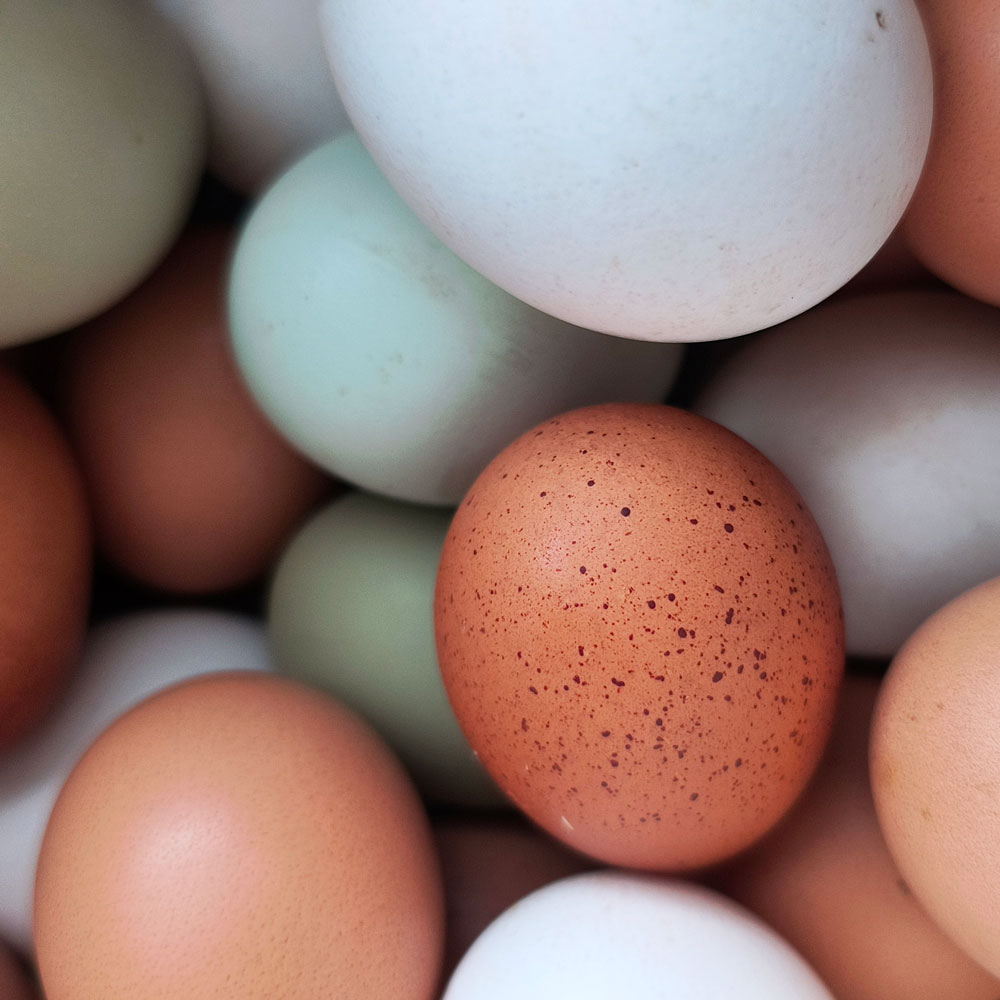
Farm fresh eggs are a little different from store-bought ones – in all the best ways. Not only are they fresher than what you’ll find at the store, they taste better and they come in a rainbow of pretty colors too! Here’s how to keep them in top shape until breakfast time.


Why Our Eggs Are Not Washed Before Sale
At Roots, Roost & Rafter, the eggs we sell are unwashed – and there’s a good reason for that. When a hen lays an egg, she coats it with a natural protective layer called the bloom. Because eggshells are porous, the bloom acts like a seal – keeping bacteria out and moisture in. In other words, it’s nature’s way of keeping eggs fresh for longer.
Commercial egg operations are required by regulation to wash their eggs before sale, which removes that protection. As a small producer, I have the luxury of doing things differently – providing eggs just as nature intended, bloom intact and freshness preserved.
Now, does that mean your eggs will arrive dirty? Not really. If you’ve seen any of the photos around the website, none of those eggs were washed before their close-ups. I work hard to keep the coops exceptionally clean, collect eggs frequently, and maintain a healthy, happy flock. A healthy chicken in a clean coop means clean eggs straight from the nest most of the time.
That said, I’m not going to pretend they’re always spotless. Chickens aren’t exactly known for wiping their feet before hopping into the nest box – and when the ground is muddy (which feels like half the year), the occasional muddy footprint on an egg happens. I place the nest boxes as far from the coop door as possible to help them wipe their feet naturally on the way in. It helps… but it’s not foolproof.
If an egg just has a little muddy mark, it’s brushed off and goes into your carton with the rest. If it’s really messy, it goes into what we lovingly call the misfit basket – those are the ones we keep for ourselves.
Washing Your Eggs
It might be tempting to give your eggs a quick rinse right away, but resist the urge if you can! Washing eggs before storing them shortens their shelf life. If possible, it’s best to wait to wash your eggs until just before you use them.
When it’s time to use your eggs, give them a quick rinse under warm running water and gently scrub them with your hands. No soap, bleach, or fancy cleaners required. Always use water that’s warmer than the egg itself – once the egg gets wet and the shell’s pores open up, cold water can actually pull bacteria into the egg, and that’s the last place you want it to go.

Let’s Get Cracking
It’s a good habit to crack farm fresh eggs into a small bowl rather than directly into your recipe. Farm fresh eggs are not checked for imperfections by machines like store-bought eggs are. Small backyard egg producers just don’t have the equipment. That means that occasionally an egg with a small protein spot or two might make its way into your carton. Cracking your eggs into a small bowl instead of what you’re cooking means you can spot those imperfections before they’re part of your meal.
If you do find a protein spot, you can simply scoop it out and carry on. Many people don’t bother because these spots are harmless and perfectly fine to eat, but I still pick them out the odd time I find one because, well, they give me the ick.
What is a Protein Spot Anyway?
Most protein spots are tiny pieces of tissue from the hen’s oviduct. They are usually brown in color, and found in the thick albumen, chalazae, or the yolk. They range in size from 0.5 mm to more than 3 mm in diameter. They are sterile and harmless. The spot can be removed with the tip of a knife, if you wish. The incidence of protein spots ranges from less than 3% to 30% or more. It varies with the strain of bird, increases with the age of bird and may be higher in brown eggs. Many protein spots are too small to be detected by candling, especially in brown eggs.
~ Taken from the University of Alberta’s website.
Counter or Refrigerator?
The safest practice is to refrigerate your eggs as soon as you get them home. Unwashed and refrigerated eggs will keep about three months from the date they were laid. To be cautious, the “best before” date on your carton is set for just two months after laying. In reality, they may stay fresh a few weeks longer, but I prefer to err on the side of caution.
If you’ve opted not to wash your eggs before storing them and your kitchen stays cool (around 18°C / 65°F or below), then technically you can let the eggs sit on the counter for two weeks from the lay date written on your carton. If you want to wash them immediately, have a warm kitchen, or just want them to last longer, it’s best to refrigerate.
Once an egg has been in the fridge, keep it there! Temperature changes can cause condensation that encourages spoilage.
Hard Boiling Farm Fresh Eggs
Peeling a freshly laid, farm fresh egg can be frustrating, but there’s a simple way to make it much easier – no need to wait for older eggs. I rarely have an egg I can’t peel beautifully, even if I boiled it when it was still warm from the nest. Here’s how we do it at Roots, Roost & Rafter:
Step 1: Boil your water first.
Get your water to a hard boil before adding the eggs. Give your eggs a quick wash while the water heats, then gently lower them in using a spoon to avoid burns.
Step 2: Let them cook.
I like hard-cooked eggs, so I boil them for 12 minutes. Extra-large and jumbo eggs might need an extra minute or two to make sure the yolks are solid.
Step 3: Cool those eggs.
Drain the pot and run cold tap water over the eggs while still in the pot. Our tap water is cold enough that I usually just run it over the eggs for a minute or two, then let them sit for another 10 minutes. You can also place them in a bowl of ice water for about 10 minutes.
Step 4: Crack the eggs.
Once cooled, lightly tap the fat end of each egg on the counter to crack it, then return it to the water. Doing this lets water seep between the shell and egg, making peeling much easier. Leave them sit in the water while you peel the eggs – the shells should come off easily.


TIP: Testing For Freshness
So you took your eggs out of the carton and now you’re not sure how old the egg is? Glad I’m not the only one who has done that! The float test isn’t foolproof but it’s a pretty good indicator of freshness and it’s quick and easy to do.
Fill a bowl with water and gently lower the egg in to see what happens. If it:
Sinks to the bottom and lays flat: fresh and ready to go
Tilts upward: still fine, but use soon
Floats to the top: use with caution and definitely crack into a separate bowl; it might be best to compost this one
About the Author
Hey! I’m Krystal - one of those quirky, super-introverted types in real danger of becoming a hermit. You know the kind. I usually leave the mountain once a week for provisions, load up on chicken feed, shavings, groceries, and whatever lumber I’ve convinced myself I need, then hurry back home where it’s quiet and a lot less people-y.
Turning our little property into a thriving homestead has become my passion (and maybe my obsession). If you happen to stop by, you’ll almost always find me outside doing something - building a new coop in the chicken village, tackling a half-finished project, tending the garden, doing chicken chores, or wrangling birds. On the rare chance you catch me indoors, I’m probably in the kitchen or knee-deep in sketches and plans for whatever I’ve decided to do next.
If you like what you see here, come hang out with me on Facebook and Instagram for more homestead stories, flock updates, and a good dose of cozy chaos.
Thanks for stopping by!